Tuesday, June 24, 2014

Two steps back equals four steps forward!

Ok, since my last post I've had to do a bit of backtracking. That's not super fun, cause it feels like taking steps back instead of moving forward on the project. But in reality I have been moving forward as the extra steps will be worth it in the long run.
My framer suggested that the bare wood against metal might be prone to rotting over time from condensation on the metal, so I've taken some steps to protect it. I took all of the 2x5s off and covered them with two coats of high quality exterior grade primer. I also attached strips of sill gasket to the wood where it will be in contact with the metal of the trailer frame and with the metal flashing underneath.
He also suggested that attaching the boards to the trailer with screws alone would not be strong enough over time, what with some vibration from moving the trailer. Even though the boards won't be load bearing, they need to be securely fastened. So I took them off, drilled the existing holes in the boards to accomodate 14" bolts, drilled corresponding holes right through the trailer joists, and have transferred the screws that were in there to the middle of the boards. They're all back on now, and looking snazzy. Just like this guy:
What an awesome helper. Thanks Carl!
Oh, that metal beam is clamped on there to keep the wood boards from crowing up abover the level of the metal joists while Carl screwed them back on.
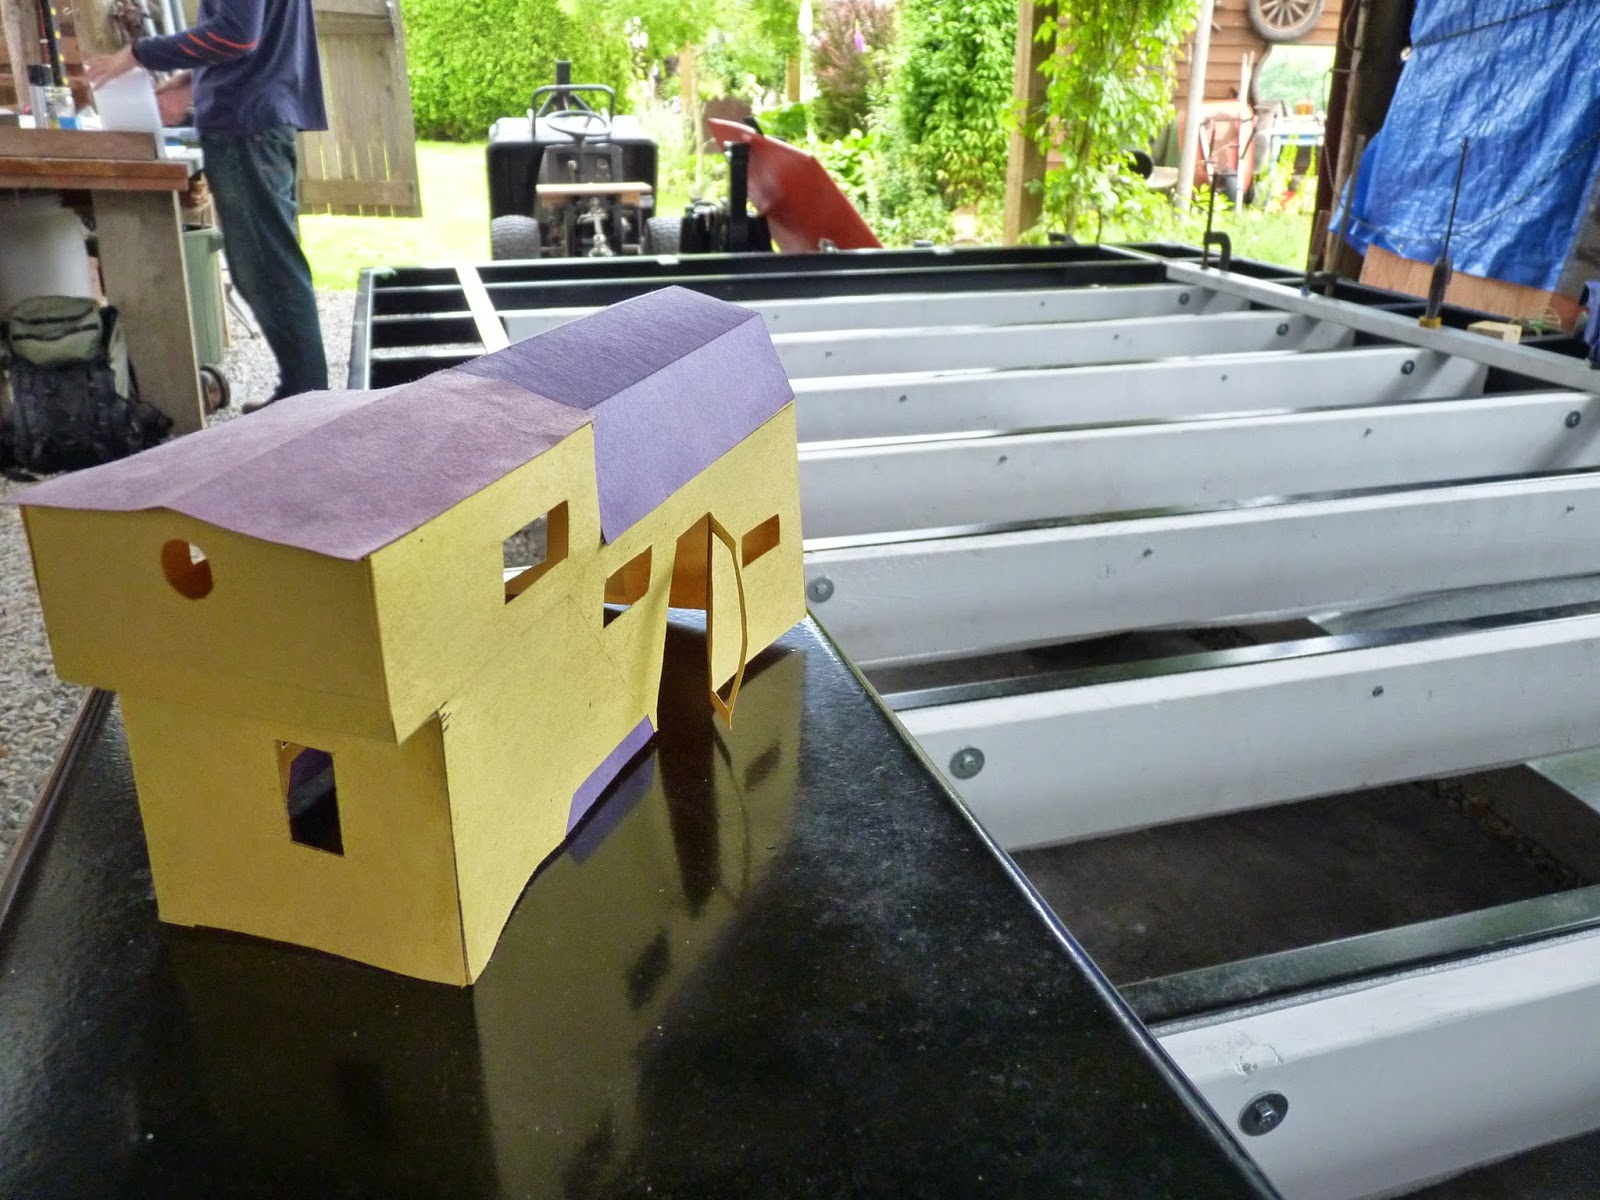
Now I'm back to attaching the flashing to the bottom. The first sheet is on, and the second one's ready to go on now too, with cuts made for where the tongue attaches to the main frame.

Feels like I'm moving forward again... :-)

Monday, June 9, 2014

Things is happening

This past week I've made PROGRESS! Since the last post:
I've nearly finished attaching all of the flashing supports to the steel joists:
Now I'm getting ready to attach the flashing to the underside of the trailer. First, measuring!
I cut a cardboard jig for a couple of the cuts I need to make in the metal:


 Did some drawing to figure out placement of the metal sheets under the trailer:


And made a couple of cuts. It's not as hard to cut sheet metal as I thought it would be. Not to say that my cuts are really pretty, I'm sure it's trickier to do it nicely. But mine don't need to be pretty :-) This one's not using the jig, but rather from measurements and the drawings I made.


 Here's the metal wedged up under the frame. It took two of us to jam it in to the two cuts near the corner (bottom left, near my foot) There was just enough flexibility in the metal the bend it into place.

I've used some long pieces of 1x6 suspended from the trailer frame to form a platform to hold the metal up where it needs to be. There are also a couple of long pieces of metal bar running the length of the sheet to keep it straight and flat. The sheets were a bit curvy, but working them with hands and feet straightened them out a bit.


Finally, here's a sample of the tools I've been using the past couple of days. Not included are the chop and table saw, and a few other little mecanically helpful friends.

Woop!

Sunday, June 8, 2014

drilling into metal is not so easy

I'm working on attaching the trailer flashing to the trailer. I got sheets of 4'x10' galvanized steel off c-list, really good price. Hoping that they will be a thick enough gauge. I had to pressure wash them first as they were quite filthy. Before:
 And after:

To begin with I have to attach something to bring the level of the joists down to 5 inches (they are only 2 1/2). So I'm attaching 6' lengths of 2x6s that I've ripped to 5". Here's what it looks like:
Next up is puzzle piecing the metal sheets together so that they overlap properly and all end up resting on joists.
Onward!